
How to create a Blazorise WASM application: A Beginner's Guide
In this article we will learn how to create a Blazorise WebAssembly (WASM) application. As an example, we will also use basic Blazorise components to setup a simple form.
Prerequisites
To work on a Blazor app, you can start by taking of the following approaches:
- .NET CLI and Visual Studio Code: Preferred for Linux.
- Visual Studio 2022 and Visual Studio Code: Preferred for Windows and macOS.
In this tutorial, we are going to use Visual Studio 2022. Please install the latest version of Visual Studio 2022. While installing, make sure you have selected the ASP.NET and web development workload.
Creating the Blazorise WebAssembly application
First, we'll create a Blazor WebAssembly app. Please follow these steps to do so:
- Open Visual Studio 2022 and click on the Create a new Project option.
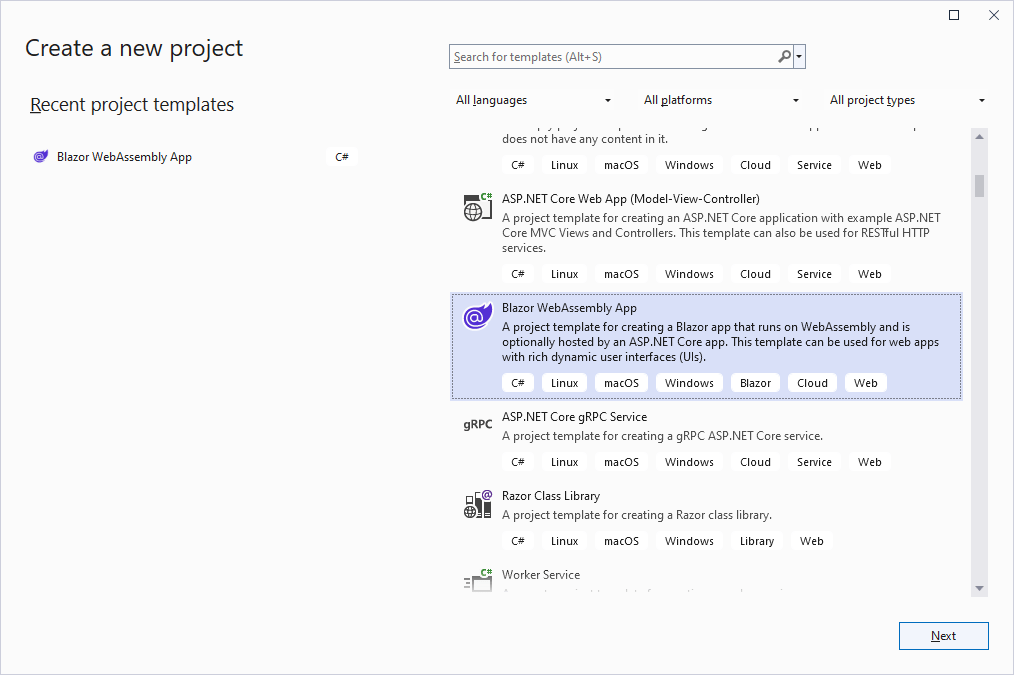
- In the Create a new Project dialog that opens, search for Blazor and select Blazor WebAssembly App from the search results. Then, click Next. Refer to the following image.
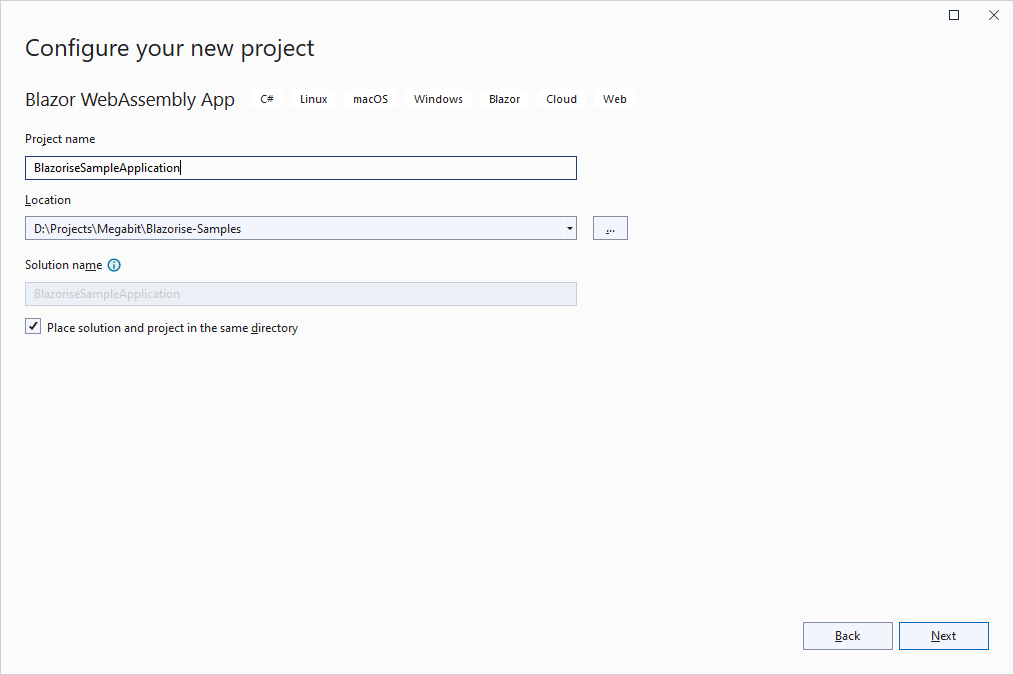
- Now you will be at the Configure your new project dialog. Provide the name for your application. Here, we are naming the application BlazoriseSampleApplication. Then, click Next. Refer to the following image.
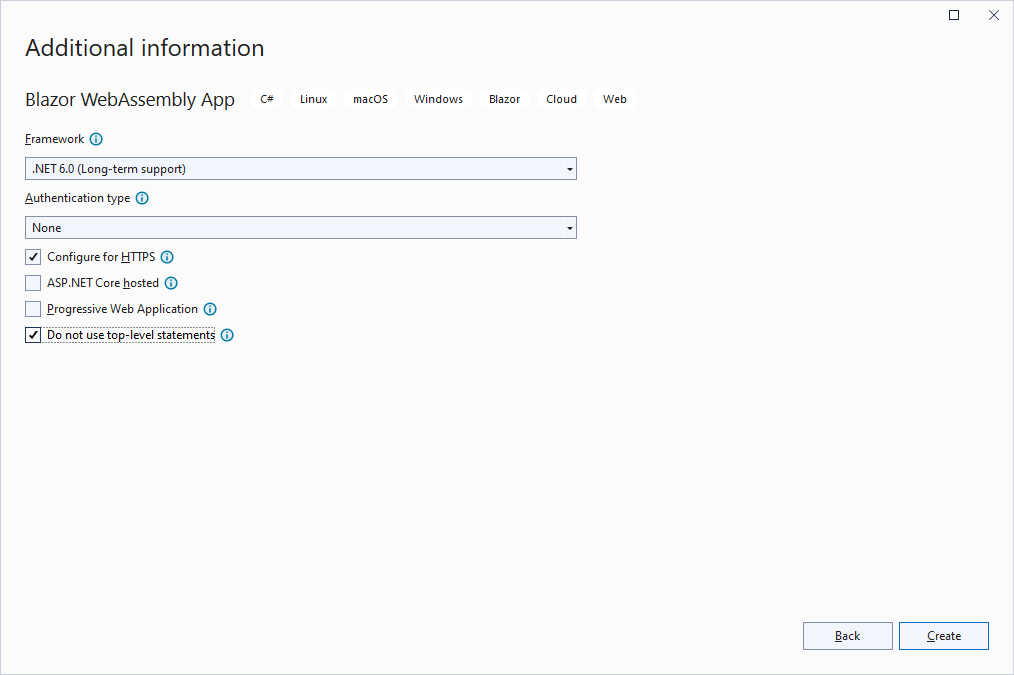
- On the Additional information page, select the target framework .NET 6.0 and set the authentication type to None. Also, check the options Configure for HTTPS and uncheck ASP.NET Core hosted, and then click on Create. Refer to the following image.
Installing the Blazorise packages
We have now completed our Blazor WebAssembly project. Continue by installing the Blazorise NuGet packages and configuring the project to use Blazorise.
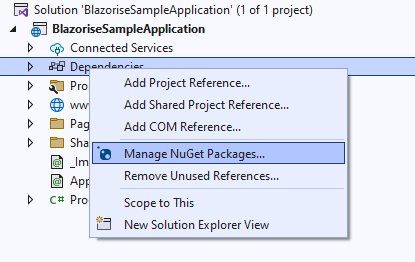
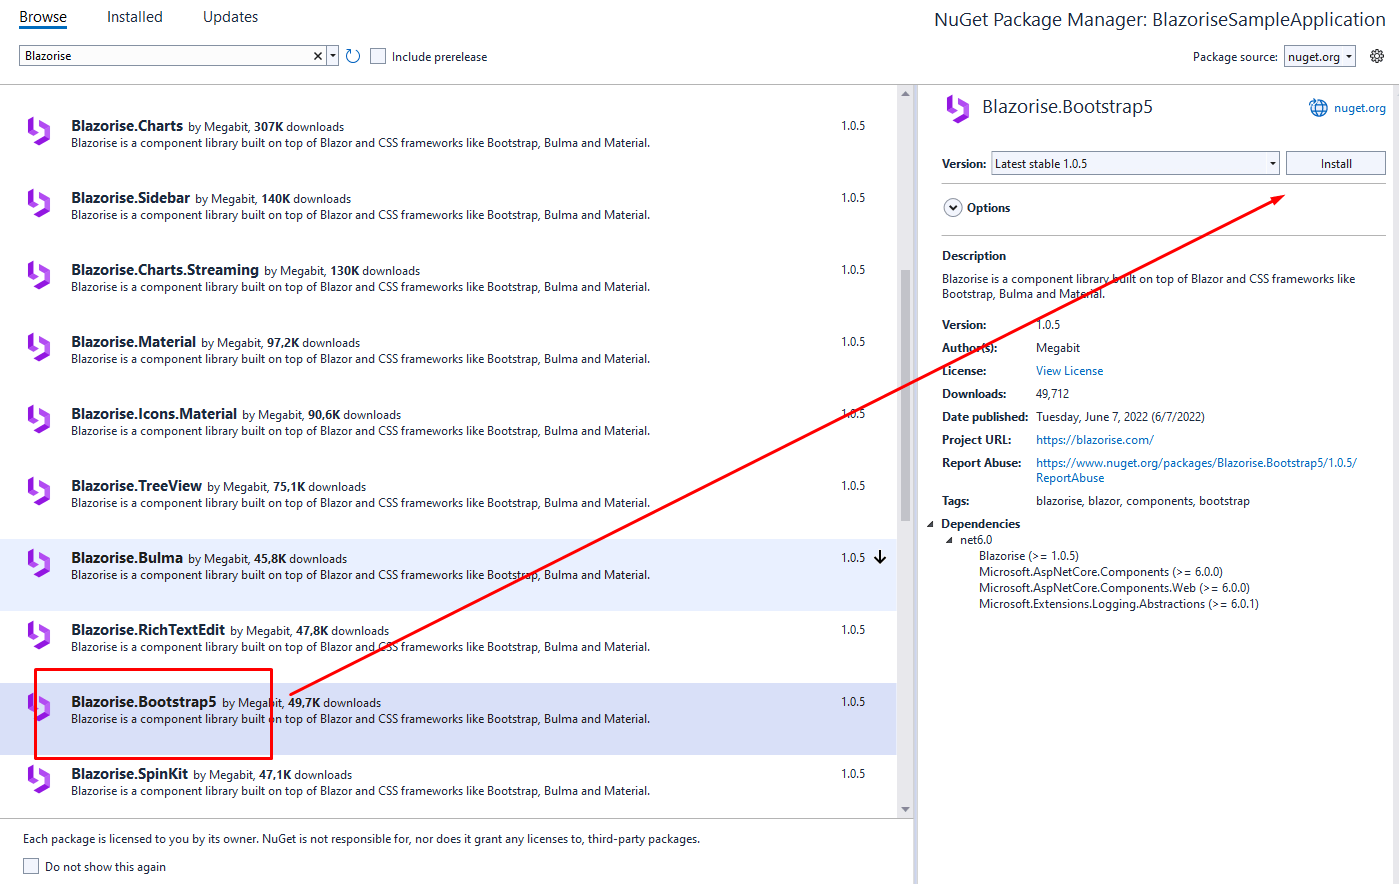
- Right click on the project in solution explorer and click on Manage NuGet Packages from the dropdown menu.
- Navigate to the Browse tab and search for Blazorise. To install it, use the Blazorise.Bootstrap5 package. Repeat for Blazorise.Icons.FontAwesome package.
- The next step is to change your index.html and include the Blazorise CSS source files:
<!DOCTYPE html>
<html lang="en">

<head>
    <meta charset="utf-8" />
    <meta name="viewport" content="width=device-width, initial-scale=1.0, maximum-scale=1.0, user-scalable=no" />
    <title>BlazoriseSampleApplication</title>
    <base href="/" />
    <link href="css/bootstrap/bootstrap.min.css" rel="stylesheet" />

    <link href="_content/Blazorise/blazorise.css" rel="stylesheet" />
    <link href="_content/Blazorise.Bootstrap5/blazorise.bootstrap5.css" rel="stylesheet" />

    <link href="css/app.css" rel="stylesheet" />
    <link href="BlazoriseSampleApplication.styles.css" rel="stylesheet" />
</head>

<body>
    <div id="app">Loading...</div>

    <div id="blazor-error-ui">
        An unhandled error has occurred.
        <a href="" class="reload">Reload</a>
        <a class="dismiss">🗙</a>
    </div>
    <script src="_framework/blazor.webassembly.js"></script>
</body>

</html>
- Next, define the Blazorise using in your main _Imports.razor file. This will instruct Visual Studio IntelliSense to suggest Blazorise components to us.
@using Blazorise
- Go to the Client folder and define the following in Program.cs.
using Blazorise;
using Blazorise.Bootstrap5;
using Blazorise.Icons.FontAwesome;
using BlazoriseSampleApplication;
using Microsoft.AspNetCore.Components.Web;
using Microsoft.AspNetCore.Components.WebAssembly.Hosting;

namespace Company.WebApplication1
{
    public class Program
    {
        public static async Task Main( string[] args )
        {
            var builder = WebAssemblyHostBuilder.CreateDefault( args );
            builder.RootComponents.Add<App>( "#app" );
            builder.RootComponents.Add<HeadOutlet>( "head::after" );

            builder.Services.AddScoped( sp => new HttpClient { BaseAddress = new Uri( builder.HostEnvironment.BaseAddress ) } );

            builder.Services
                .AddBlazorise( options =>
                {
                    options.Immediate = true;
                } )
                .AddBootstrap5Providers()
                .AddFontAwesomeIcons();

            await builder.Build().RunAsync();
        }
    }
}
Setting the Simple Example
The last step is to adjust a default Blazor example to use Blazorise components.
Go the Counter.razor under the Pages folder and copy/paste the following snippet.
<Heading Size="HeadingSize.Is1">Counter with Blazorise</Heading>

<Paragraph>Current count: @currentCount</Paragraph>

<Button Color="Color.Primary" Clicked="IncrementCount">Click me</Button>
@code {
    int currentCount = 0;

    void IncrementCount()
    {
        currentCount++;
    }
}
Executing the demo
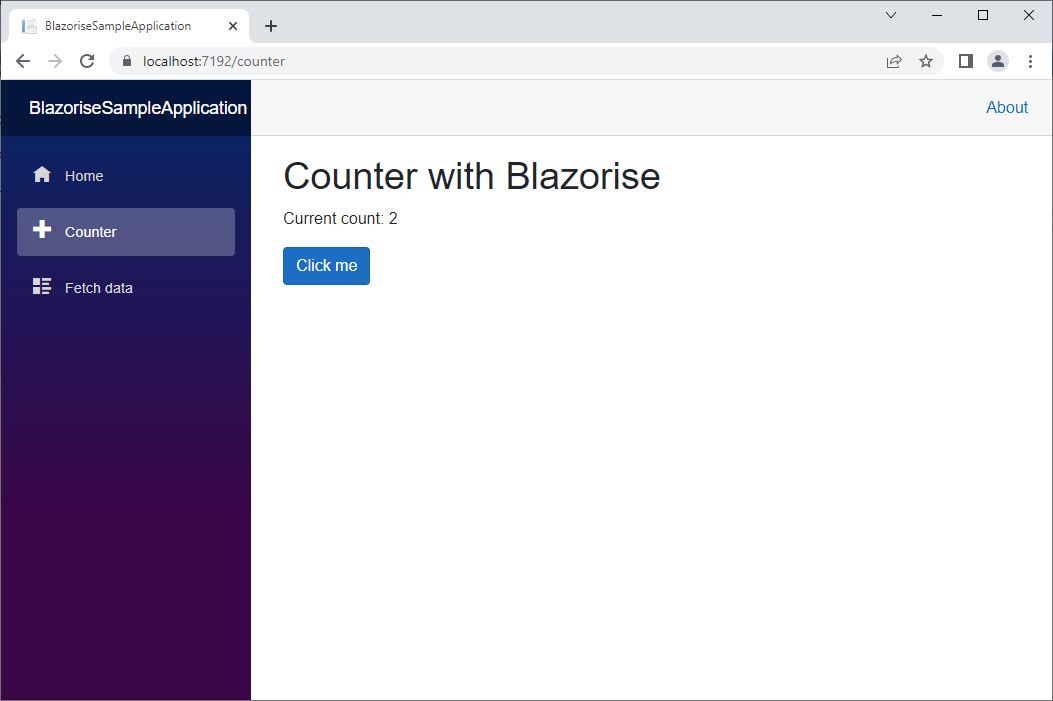
You should now be able to run the Blazorise sample project without incident. Press F5 on your keyboard, or select Start Debugging from the Debug menu.
Wait for VisualStudio to complete the build process, and you should see the new application running in your browser. To see an example of a counter, click on the Counter button in the sidebar.
Resource
Also, you can get the source code of the sample from the BlazoriseSampleApplication in Blazor demo on GitHub.
Summary
Thanks for reading! In this blog, we learned how to create and setup Blazorise in a Blazor WebAssembly app. We have also modified default Counter example to make use of Blazorise components. Try out this demo and let us know what you think!
Blazorise provides more than 80 high-performance, lightweight, and responsive web UI components in a single package. Create charming web applications with them!
